
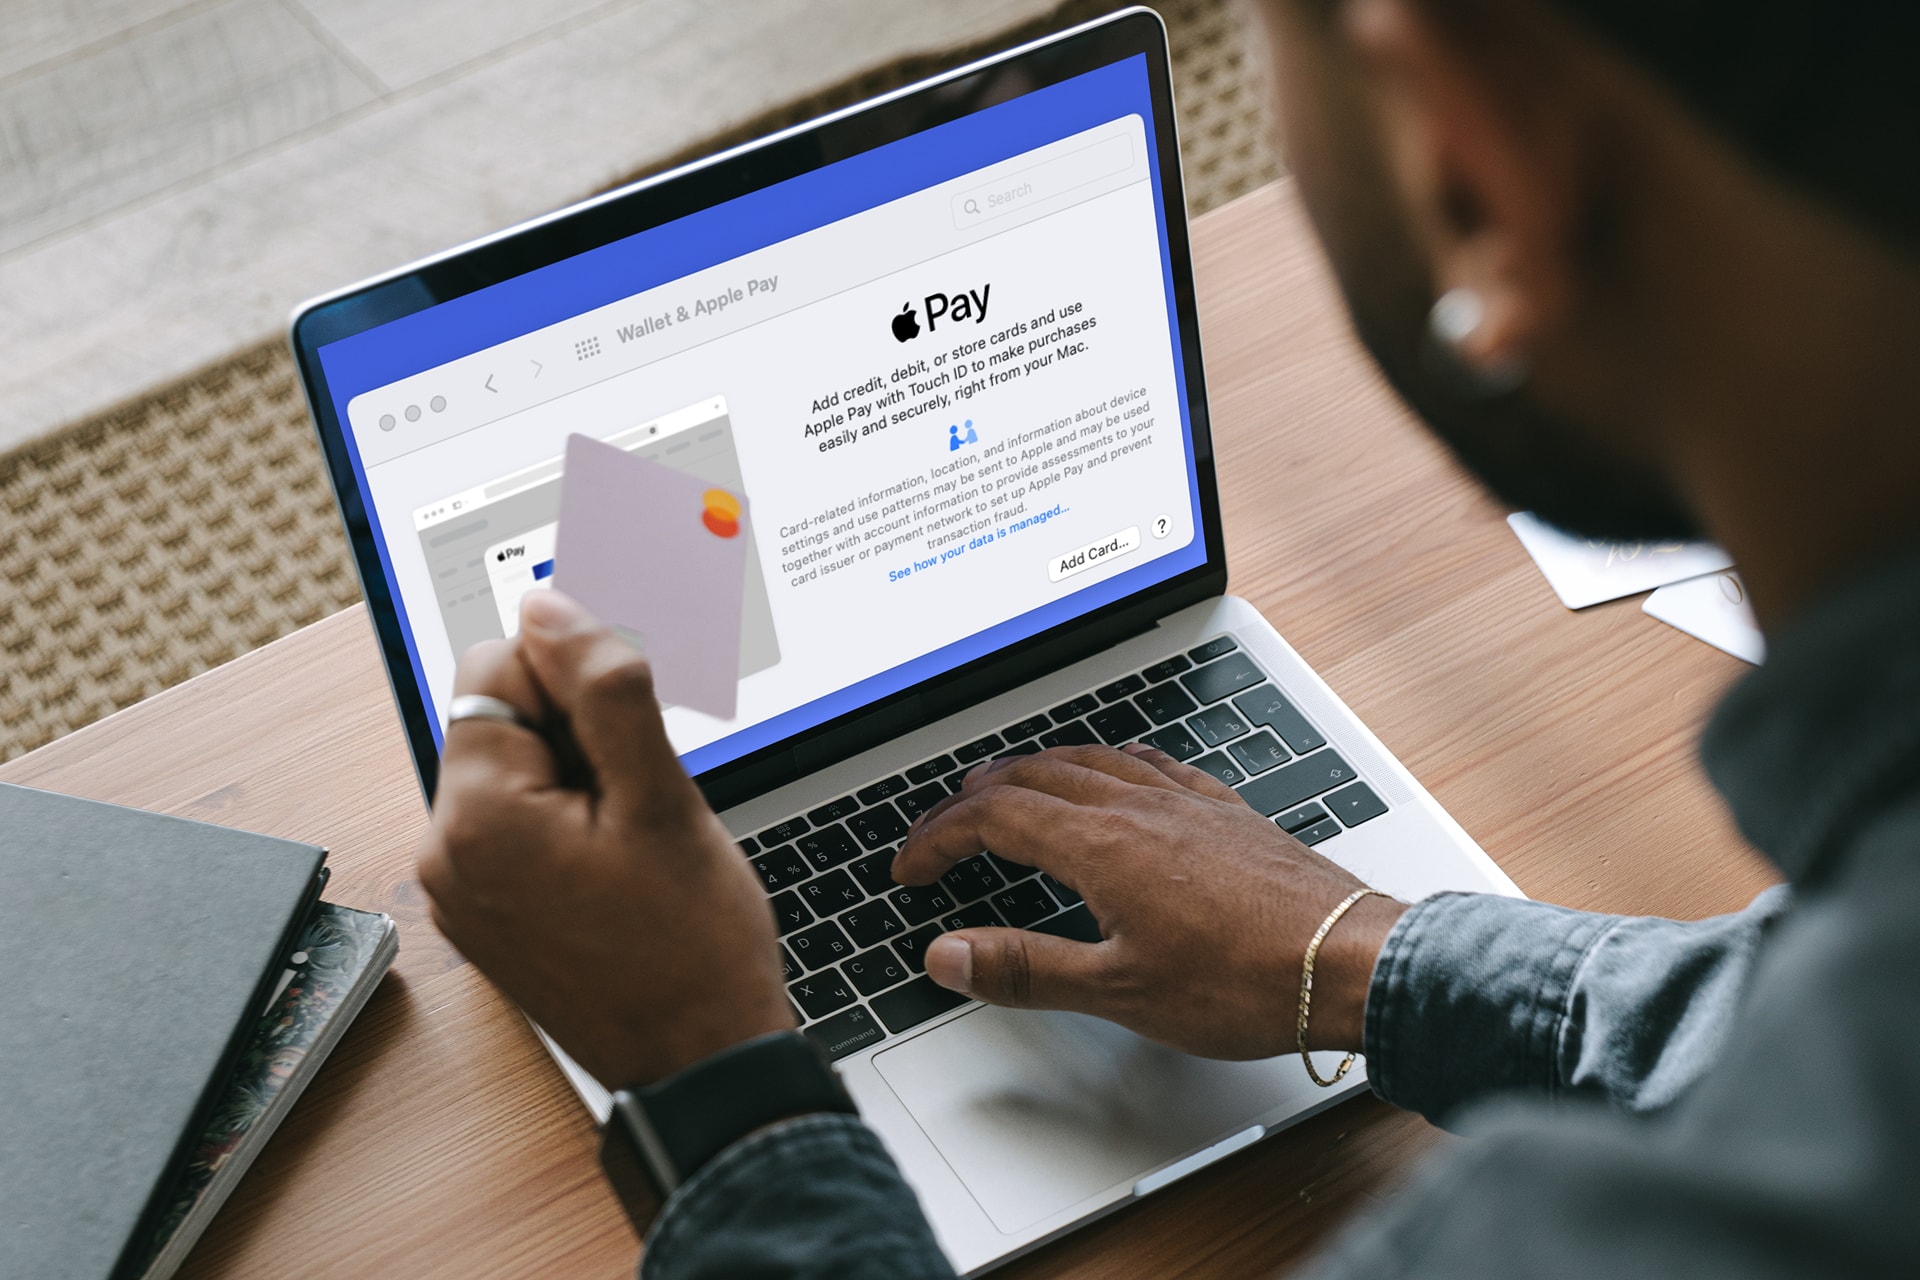
You can then make your financial life easier by learning how to set-up Apple Pay and Wallet on Mac. Once you have this knowledge, you will be able to set up Wallet and Apple Pay on Mac. Apple Pay at checkoutTo speed up your purchase experience, simply enter your password, or use Touch ID.
Apple Pay and Wallet Setup
It’s possible to set it up Your Wallet using the debit and credit cards you’ve added to the Wallet on your iPhone or iPad. If you don’t have those devices, you can simply add cards and you’re ready to use Apple Pay.
Step 1 Open System PreferencesYou can use the icon in your Dock AppleIn the menu bar, click icon
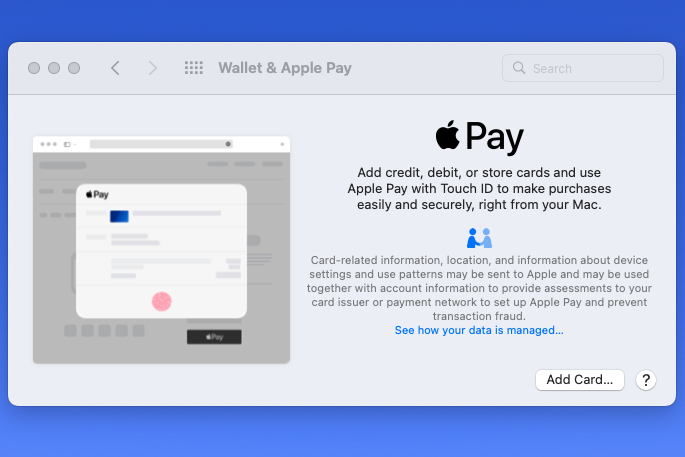
Step 2Choose Wallet & Apple Pay.
Step 3 When you initially select this option, you’ll see a setup screen. Select Add cardSign in with your Apple ID to get started.
Moving forward, you’ll simply see your Wallet where you can manage your payment methods when you open Wallet & Apple Pay.
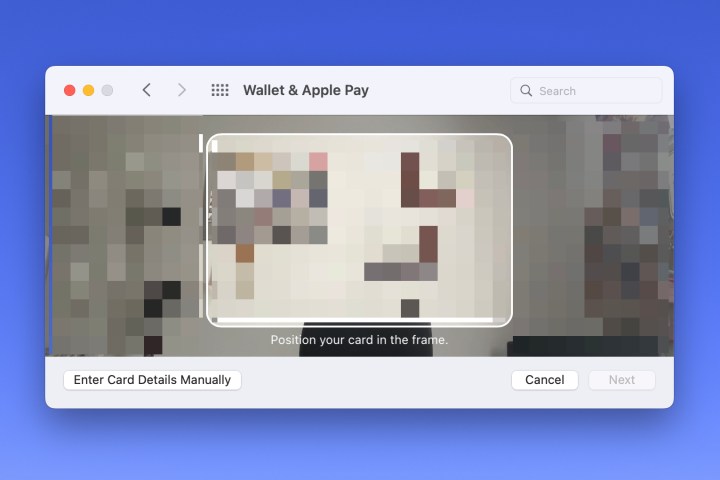
Step 4 If you don’t have cards in the Wallet on your other devices, select Add card. Next, follow the prompts and hold your card high up to your Mac camera. Or enter the information manually.
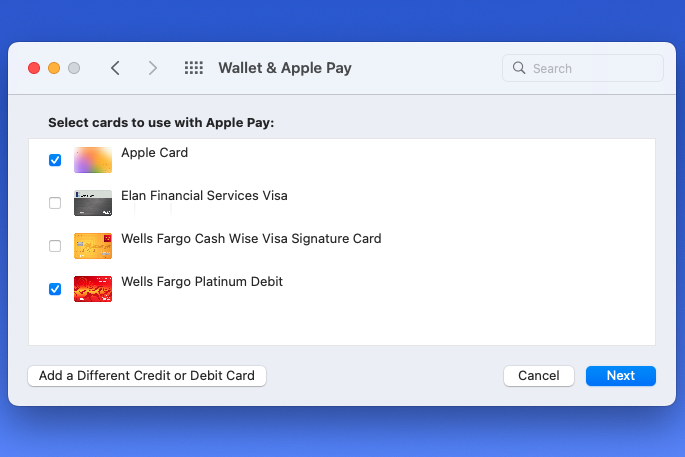
Step 5: If you do have cards in the Wallet on your iPhone or iPad, you’ll see these listed. Make sure to check the boxes for any cards that you would like to use on your Mac. Next.
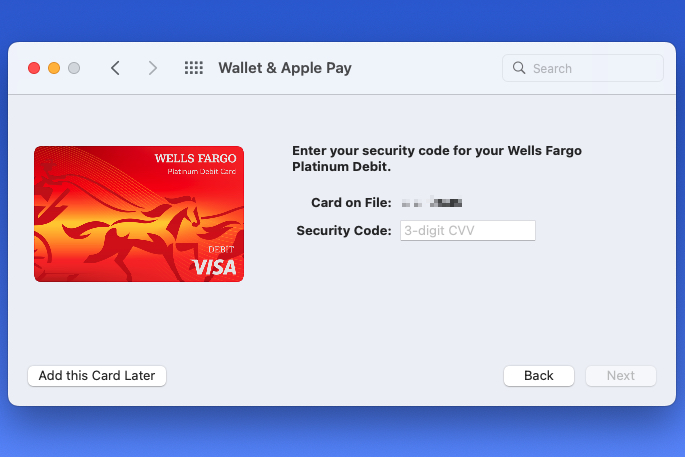
Step 6You may need to confirm or enter additional information depending on which card you are adding. You may be asked to enter the CVV number for a debit card.
Once you have provided the details, click “Select” Next.
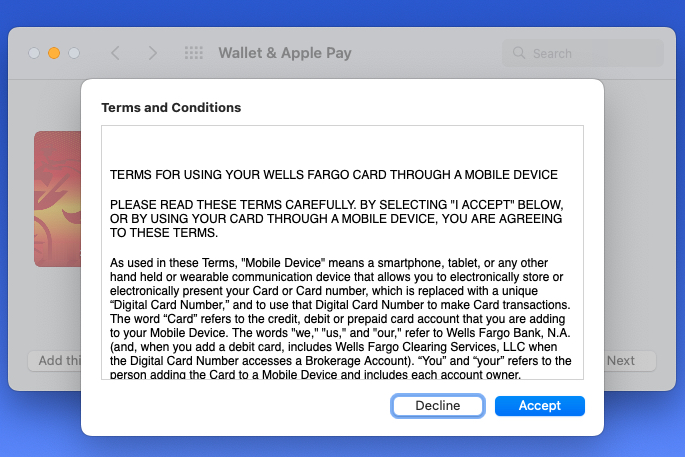
Step 7You may also be asked to agree to the terms and conditions depending on which card you have and the bank that issued it. Select the appropriate option AcceptContinue reading after you have reviewed the terms.
Step 8 You’ll see a brief message at the bottom of the window as your bank is contacted for approval to connect to Apple Pay.
Select the final version once you have completed. Done and you’re ready to use Apple Pay.

Change your payment preferences
After adding or selecting cards to your wallet, you might want to check the attached details on that screen.
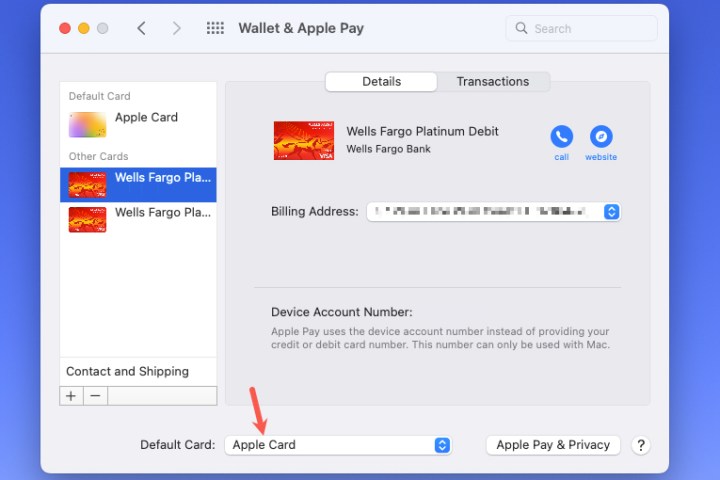
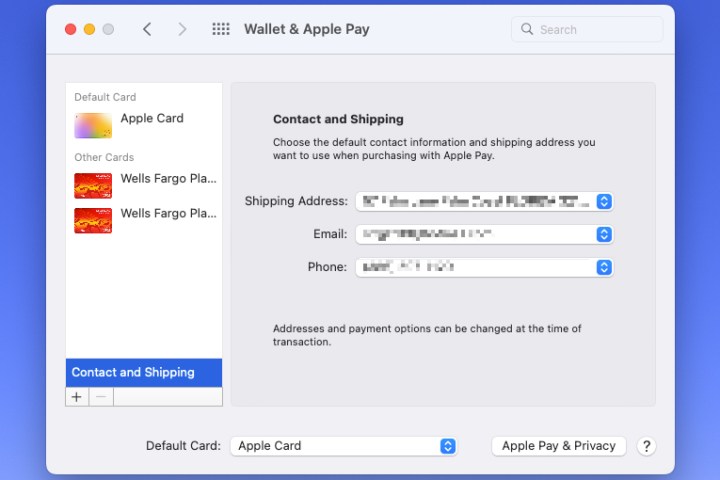
Step 1 You’ll see your cards listed on the left with the default card at the top. You can change the default card by using the drop-down menu at the bottom.
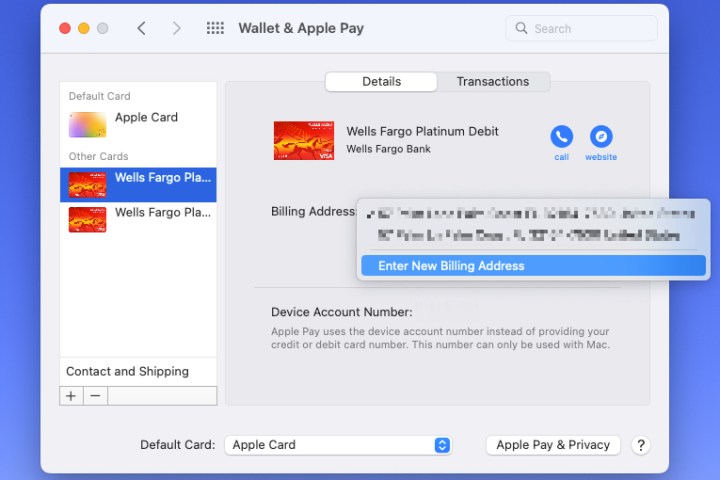
Step 2For each card that you choose, your billing address should be displayed. You can change this by clicking the Address for billingSelect from drop-down menu Change your billing address.
Step 3You can also select your default shipping and billing address. Choose Contact us for shipping informationAt the bottom, click on the link to view the complete card list. Next, make any necessary changes to your shipping address or email address.
You can shop online without having to search for your wallet or payment cards by setting up Apple Pay and Wallet on your Mac. Select the Apple Pay option, use Touch ID or enter your password, and you’ll save a ton of time during the checkout process.
Check out how to use Apple Wallet for more information add your driver’s licenseWhat to do? Add a boarding cardApple Wallet
Recommendations from editors
