

Dust. It’s everywhere. And don’t even get us started on pet hair. If you are the owner of any type of pet hair, hi-fi audio systemOr Home theater setupThese nuisances can cause damage to your speakers. Particulates and other debris can stick to speaker grilles and cabinets over time. This can cause damage to the speaker’s sound system, including its tweeters and woofers.
It doesn’t matter if it’s a whole set Tower speakersBookshelves, or certain items (as shown in the photos below). Bluetooth speakersYou can make sure your speakers sound great for years by giving them a thorough cleaning every now and again. It is easy to do with the tools you already have. Here are some tips to clean your speakers.
Derek Malcolm/Digital Trends
Make sure to clean your speaker cabinets
Your speakers’ cabinets are where the audio magic happens, but it’s their exterior beauty and style that make them stand out in your set.
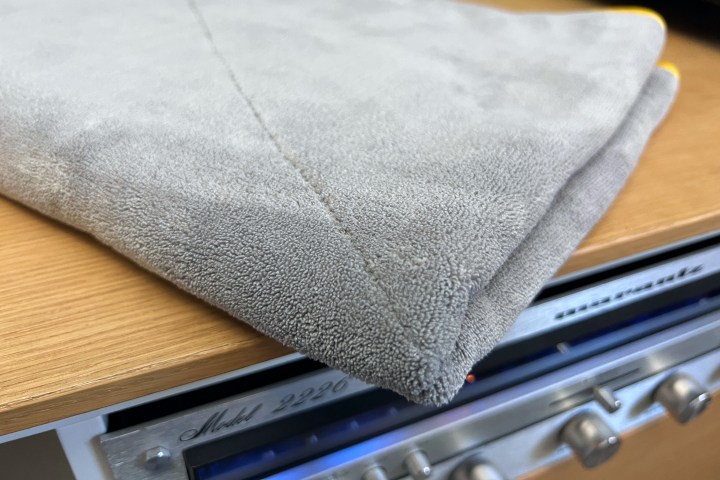
You don’t need to use anything other than a damp microfiber cloth or cotton rags for dusting off the cabinets of your speakers. This is the best way to keep them safe, regardless of whether they are made from wood or MDF composite. Here are some tips to keep them looking great.
Step 1First, you will need two. Microfiber cloths that are lint-free. The first one should be taken and soaked in lukewarm water. You want it to be slightly damp and not soaking when you ring it. Use a safe wood cleaner for wood cabinets Cleansing wipes that have been pre-dampenedYou can also add it to the cloth, but make sure you check with the manufacturer first to ensure safety.
Derek Malcolm/Digital Trends
Step 2You will move around the speaker in the same direction as the wood grain, if any.
Step 3Take the second, dry microfiber towel and rub it over the speaker cabinet to absorb any remaining moisture. You can also catch any lint on the microfiber cloth.
Clean speaker grilles
Some hi-fi nerds think that keeping the grilles — those soft fabric or hard-shell covers that mount on the front of your speaker cabinets — covering up those sweet-looking drivers underneath is sacrilege. Although they may look dull, many of them add sophistication to the room. Pair of speakersProtecting the tweeters and subwoofers underneath is also a good idea. However, speaker grilles can collect dust, debris, and pet hairs so it is important to keep them clean. This is how you can do it without damaging the grilles.
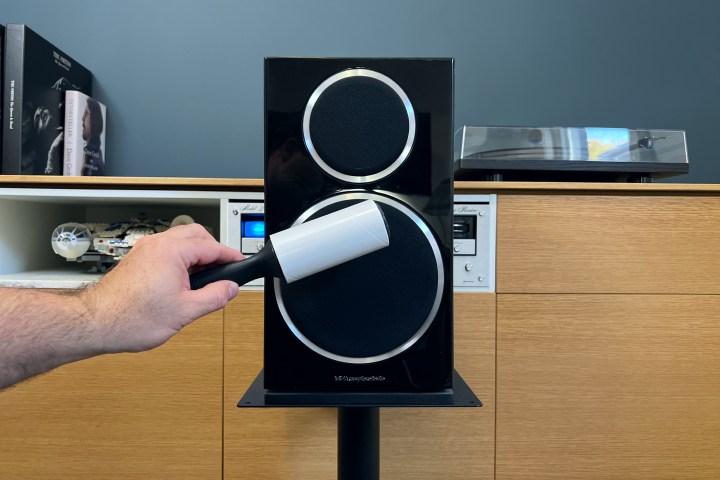
Step 1You can lightly roll a lint brush on your speaker grilles if they are made of fabric and have some pet hair or light dust. Make sure you do this after you have finished rolling your sweater.
Derek Malcolm/Digital Trends
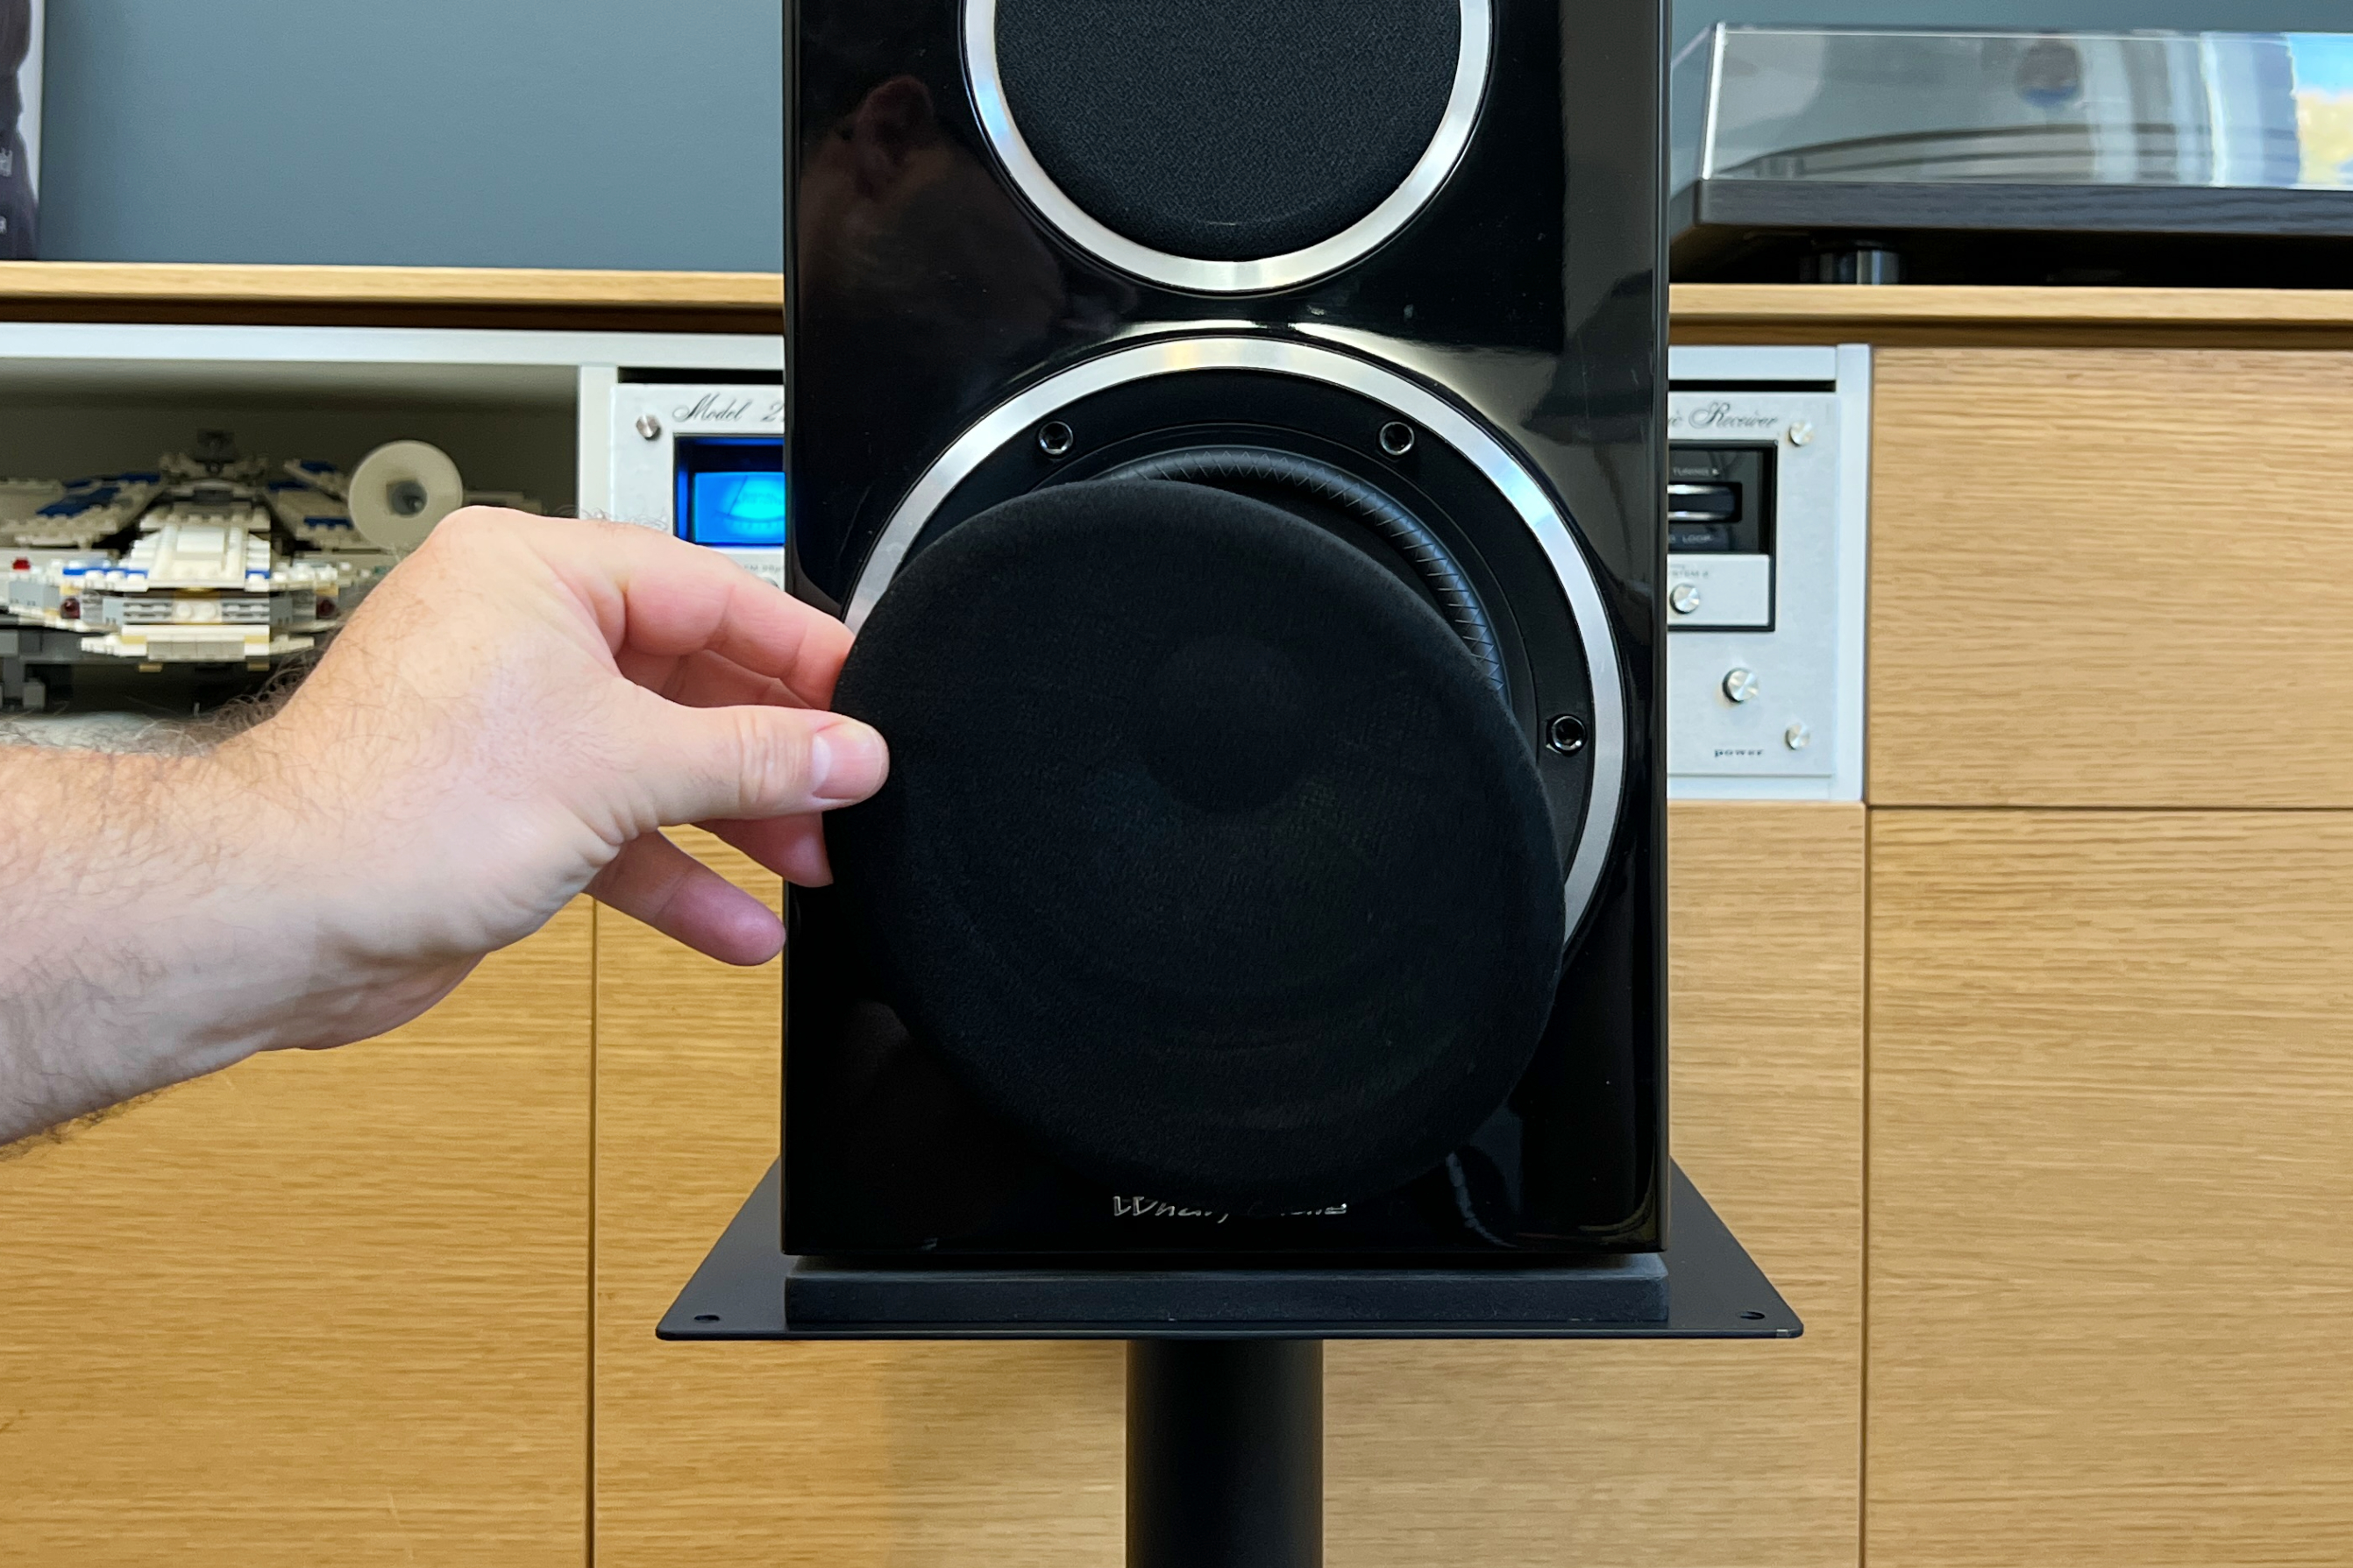
Step 2We recommend that you remove the grilles first to make a thorough cleaning. There are many ways to attach grilles. If you don’t know how to remove them, check your speaker’s manual. They will be attached using rubber prongs that fit into the holes in the corners of your cabinet. Remove the grilles from the cabinet’s top and bottom fasteners. If screws are fastened to the cabinet, take them out and remove the grilles.
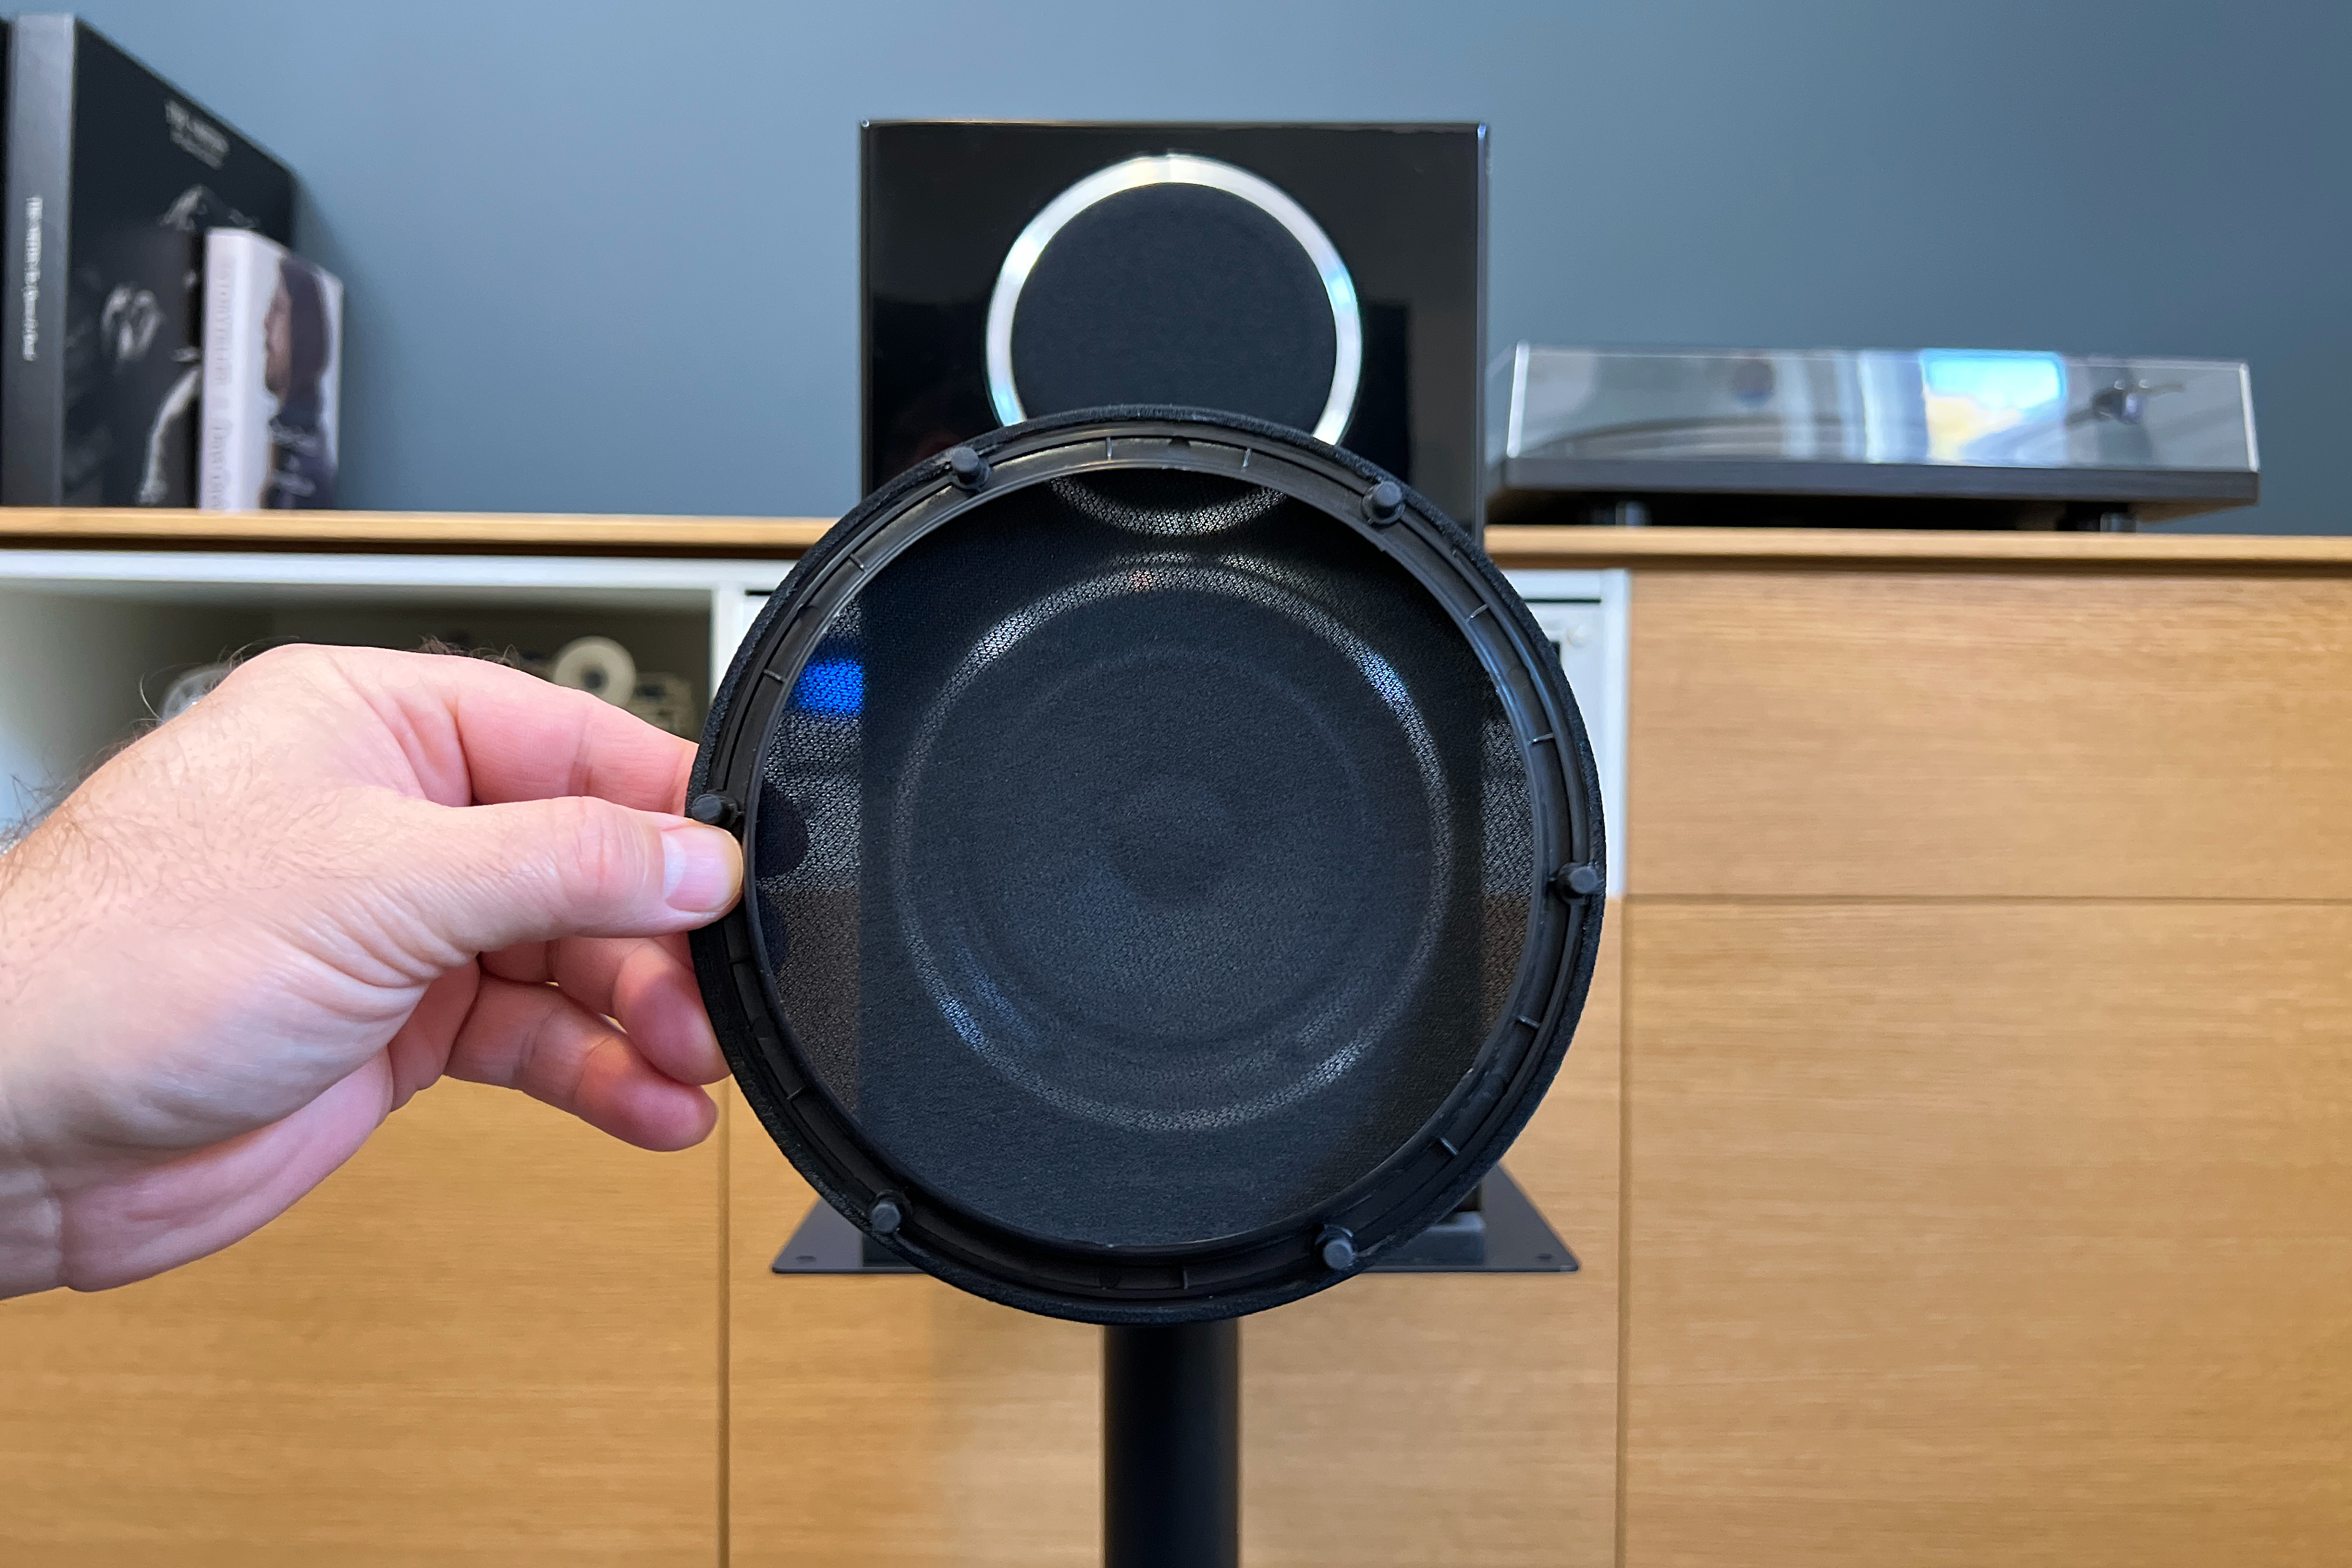
Step 3Place the grilles on a flat surface. You will need a soft brush attachment for your vacuum. Use it to gently sweep the grill cover with the vacuum.
Step 4You can also wipe them clean with a microfiber cloth. You can also use your damp microfiber cloth to clean stubborn stains and grime. Use warm water and mild detergent to gently scrub the grille. Use a second clean cloth to clean the area. Rinse it with clean water and allow it to air dry.
Step 5Plastic or metal grilles can be washed easily with water, detergent, and dried on a dry surface.
Derek Malcolm/Digital Trends
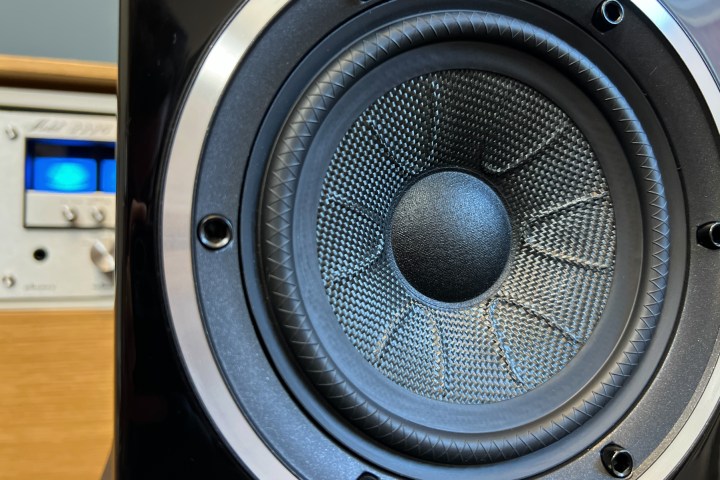
Clean your speaker speakers woofers
The larger drivers of a speaker cabinet are called cones or speaker woofers. They produce the beautiful low-end sound and volume. You can make them from a variety materials including wood, silicone and polymer as well as kevlar and paper. They are delicate and easily punctured, but they are much stronger than you may think.
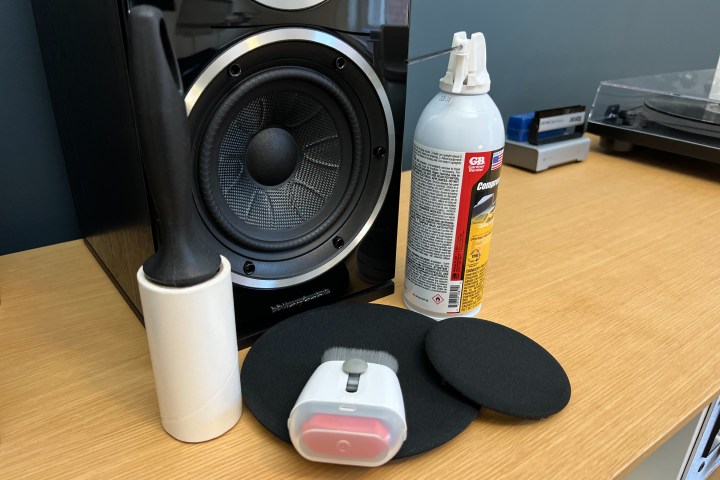
Step 1If you have delicate woofers/cones (like paper ones), it is best to not use any wet or moist materials. Instead, use a soft-bristled toothbrush (such as a paintbrush, makeup brush, or a sponge) to clean up any dust and debris. For electronics, you can also blow out any dust with a compressed air can.

Derek Malcolm/Derek Malcolm
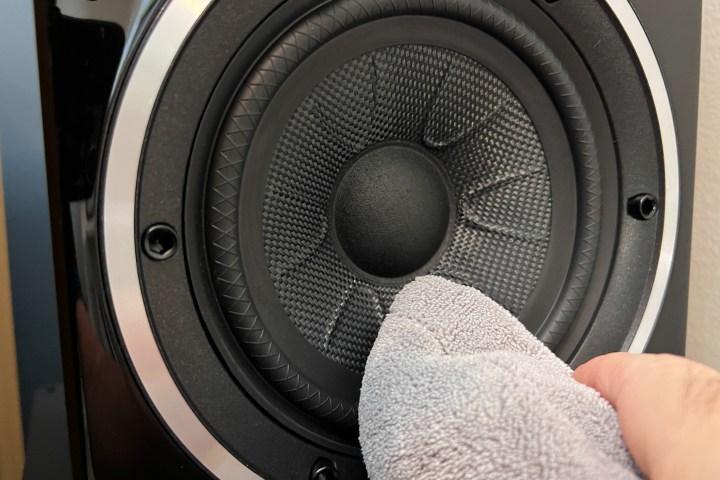
Step 2You can brush off cones made from more durable materials like polymers or wood, or give them air. Then, grab your microfiber cloth to give them a gentle wipe. Be careful not to touch any dome centers as they can collapse.
Step 3The dry microfiber cloth can be used to wipe the cone clean.
Derek Malcolm/Digital Trends
Step 4Finally, you can use a safe rubber product to clean the soft rubber or foam ring surrounding the woofer.
Derek Malcolm/Digital Trends
Get rid of all traces of your tweets
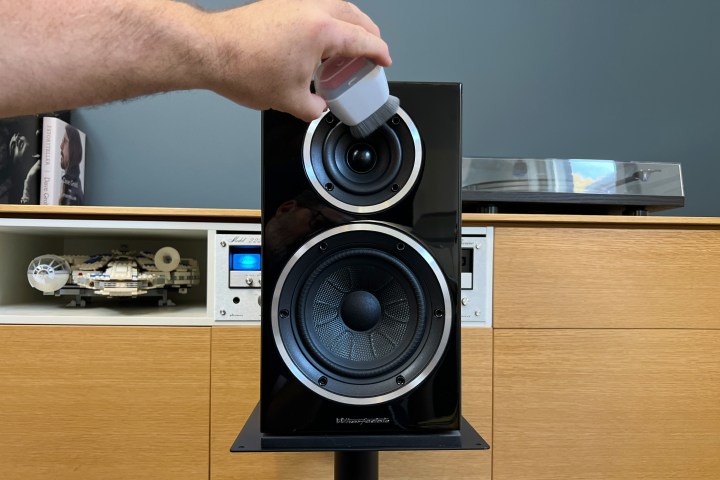
This is where the problem lies. Woofers and mid-drivers are usually pretty rugged, but tweeters — the tiny driver usually at the top of the cabinet that handles all the treble and high frequencies — are another story. You shouldn’t touch or wipe sensitive cones, domes, membranes, and coils made of delicate parts. Air is your best friend.
Take out the can of electronics compressed water and hold it close to the tweeter. If you’re cautious, you can also give the electronics a gentle wipe with a soft bristled brush. camera cleaning kit.

Derek Malcolm/Digital Trends
This post is for basic cleaning of most speakers. If you notice a buildup or grimy stain, please use caution and consult a professional. It is not a good idea to cause damage to expensive speakers. While it might seem overwhelming, cleaning your expensive speakers will ensure that they sound their best. You only need to do this a few times each year.
Recommendations of Editors
